Since I landed in the UK a week ago, it’s been a steep learning curve. Darron Coppin, Andrew ‘Mog’ Mogford and Steve have been showing me how to fillet braze a frame, and it’s been a truly satisfying experience. Today we tacked the front triangle together of a dirt tourer that we’ve been working on together.
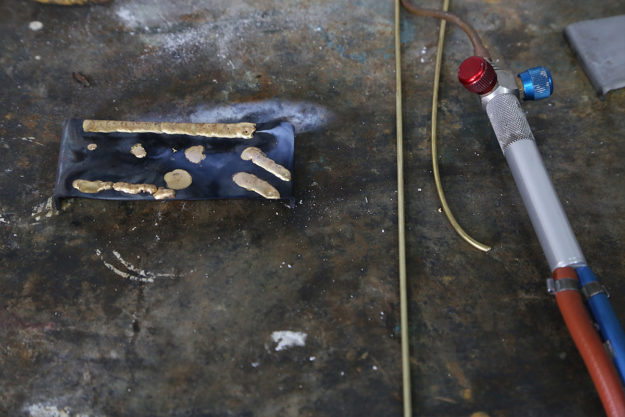
Darron beat out some scraps of steel into strips and showed me how to use the torch, adjusting two knobs that control the flow of propane and oxygen, modifying the strength of the flame. That’s Darron’s line of brass fillet at the top of the strip, and the one at the bottom is mine.
When the steel isn’t hot enough, the brass just sits in globs like an angry caterpillar. I needed to work on controlling the temperature of the steel and maintaining it so that the brass can be laid down in a rhythm. It took many attempts, but finally, I was able to progress to two tubes. That should hold, even though it’s pretty rough.
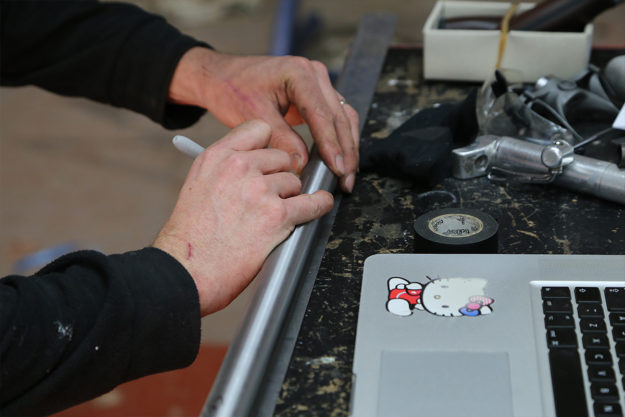
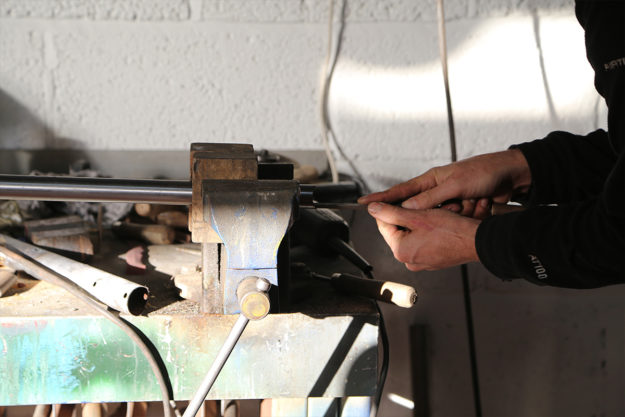
Working from Mog’s BikeCAD drawing, which we adjusted according to my dimensions of standover height and reach, Steve began measuring the tubes of Reynolds 853.
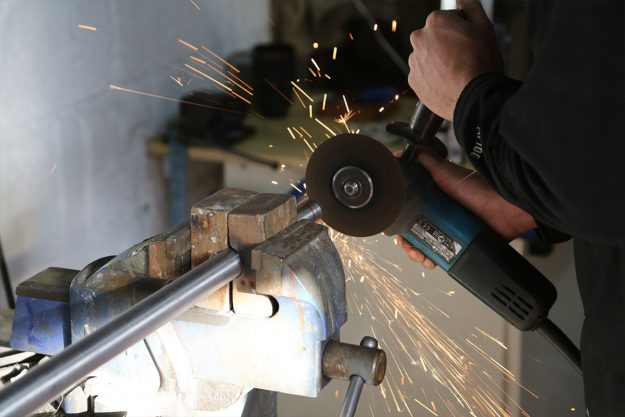
Next, he trimmed the tubes using a grinder, ready to take to the mill and hole saws. You have to ensure the outside of the tube is inside the edges of the saw.
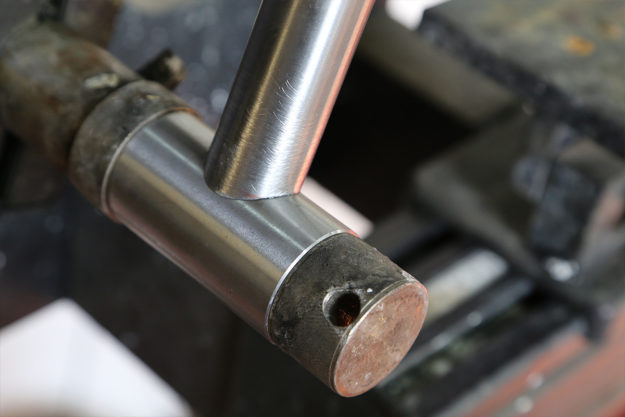
Steve is an engineer, although a frame builder needs to be as much mathematician and biomechanic as a metalworker. For me, it was impressive to see two round tubes butt up perfectly against each other at the correct angles.
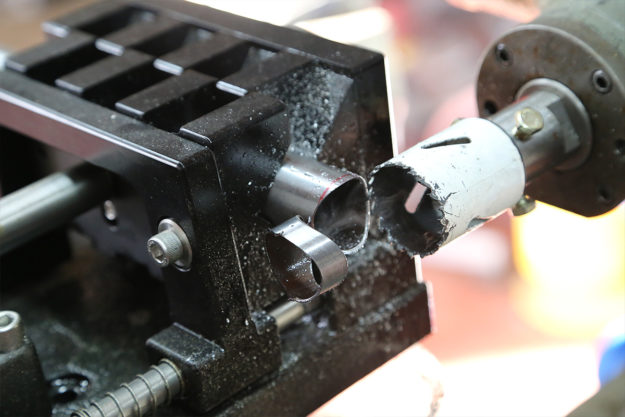
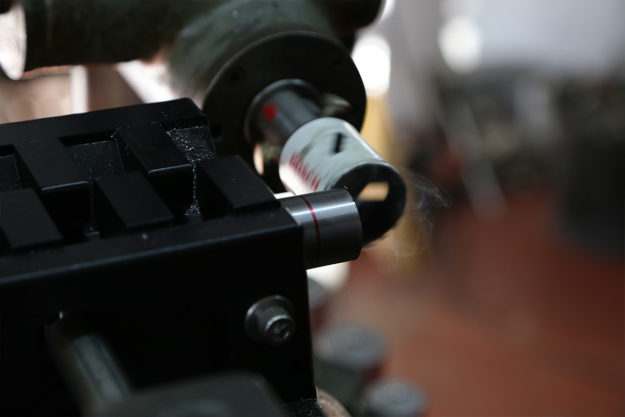
When you’re mitering the tubes, the saw needs to be kept lubricated with a cutting compound. Compared to working with wood, it’s a pretty brutal process.
Once milled, the edges need to be filed smooth of burrs and cleaned as much as possible, so that when the two surfaces are brought into contact, the edges are almost seamless.
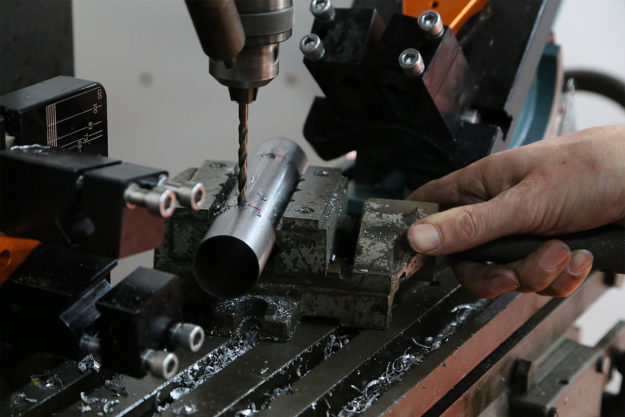
The down tube is drilled for the water bottle bosses. My frame is getting two water bottles and, naturally, it’s crucial to get them straight.
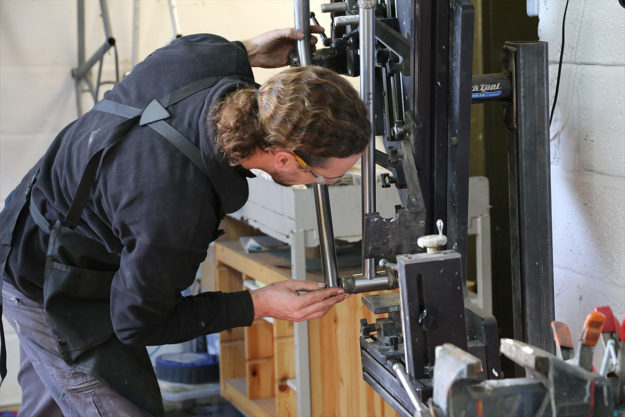
Steve is lining the tubes up on the jig. It’s a constant adjustment of tubes and angles, aligning them simultaneously until finally the front triangle is set in place on the jig.
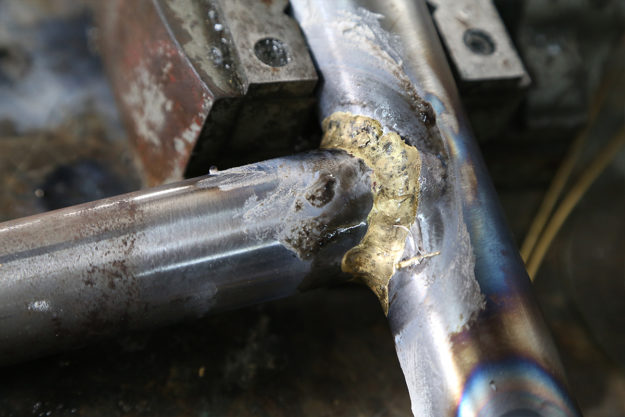
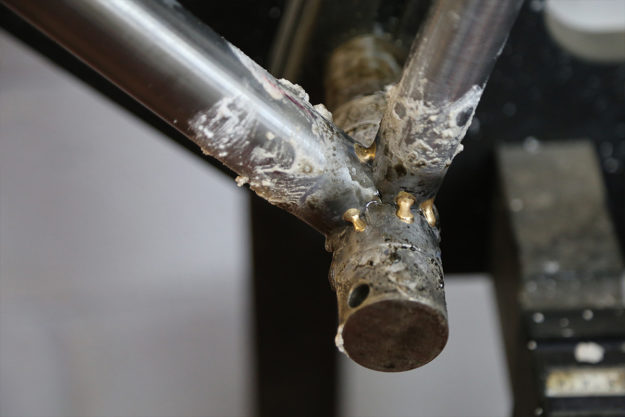
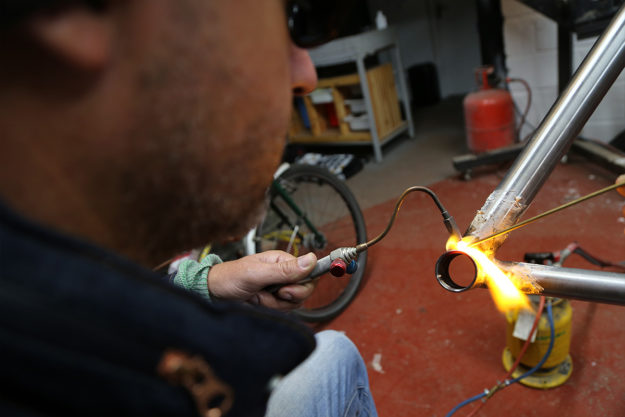
Next, we have to tack the tubes together so they move as little as possible during the brazing. The extreme temperatures will expand and contract the tubes so a tack on each corner of the joint keeps them in place.
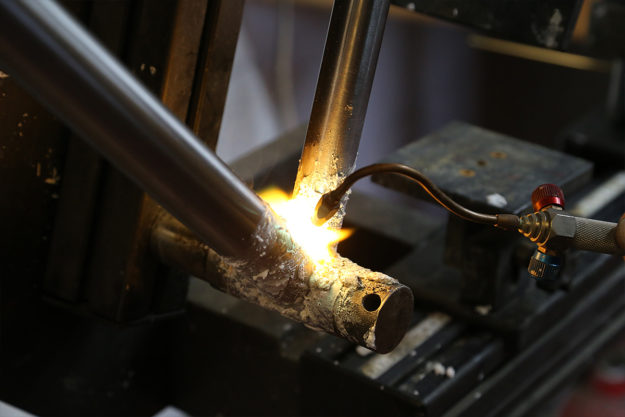
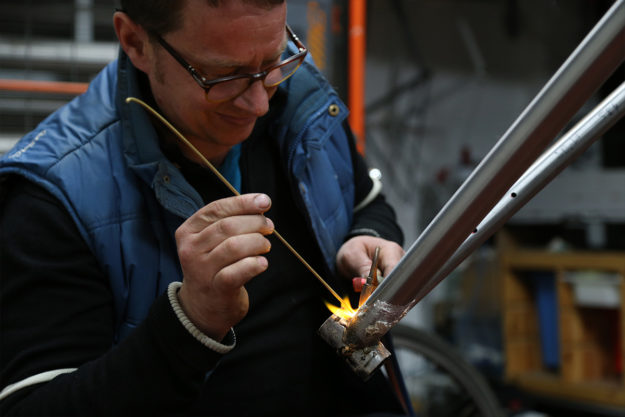
Darron handed the torch to me to apply the last series of tacks. It was nervewracking but I managed to get the bottom bracket shell, which is about 3mm thick, and the down and seat tubes, which are about 1mm thick, hot enough to make the brass sit down.

It’s all about heat control. Which is difficult, especially when the solid steel jig mount the BB shell is attached to creates a heat sink, sucking the energy away from the metal.
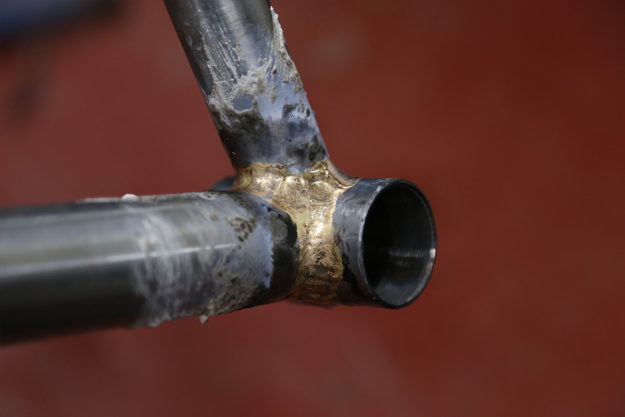
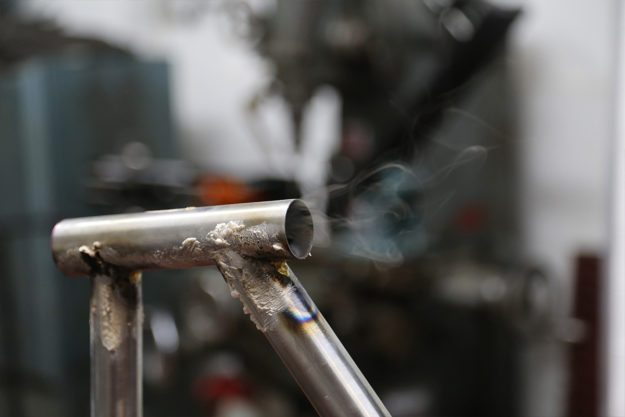
Darron took over to apply the fillet around the bottom bracket shell. There’s nothing like watching an expert at work, constantly working the flame, building up the temperature before applying the brass rod and watching it wrap around the tubes.
They’re red hot!
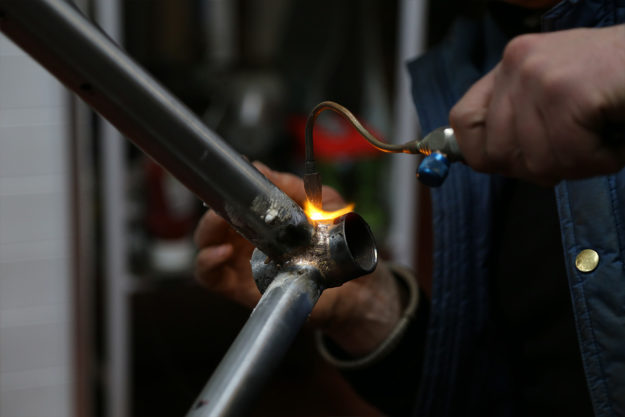
Flux keeps the area clean and provides an indicator of heat. When it burns clear, like liquid glass, it’s hot enough to get the brass in there. It creates gasses that need to escape through breathing holes in the head tube.
Darron again handed me the torch to finish it off. Once he got the temperature right, I just needed to keep it moving around the joint.
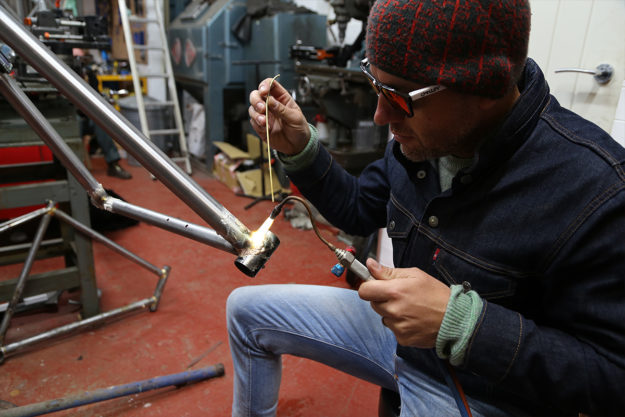
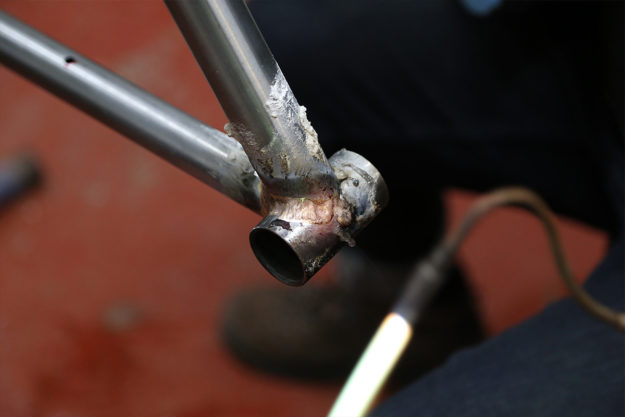
As the brass will follow the heat, you can virtually ‘paint’ with the flame, and smooth the brass, which means less filing and cleaning up later.
Rough as guts, I know, but it’s solid enough. I’ll have a hell of a job in the morning to smooth it out with the files.
Sven Cycles Website | Facebook | Instagram
Previously:
MADE IN DORSET: SVEN CYCLES WORKSHOP VISIT DAY 1
STONED IN PORTLAND, UK: SVEN CYCLES SHOP VISIT DAY 2